
Pediatric Sensor Instructions
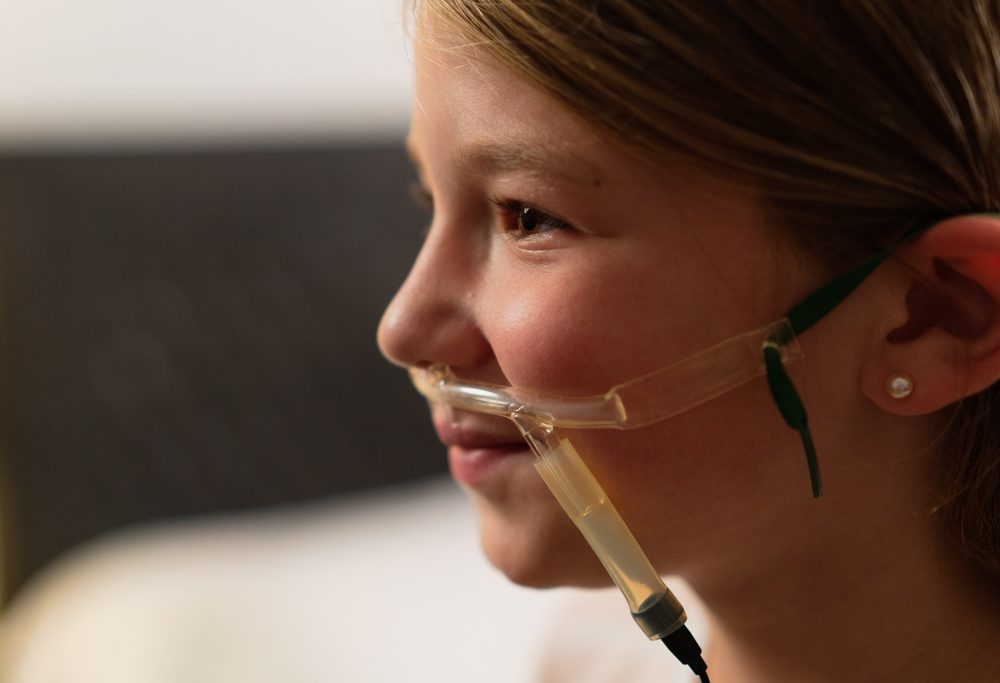
Nasal Cannula
We have a few different types of cannulas to ensure comfort and accuracy. Please follow the corresponding instructions for the nasal cannula that you received. Each cannula is single-patient use and can be fit to your child's measurement.
When testing young children, we recommend waiting until they have fallen asleep before applying the nasal cannula.
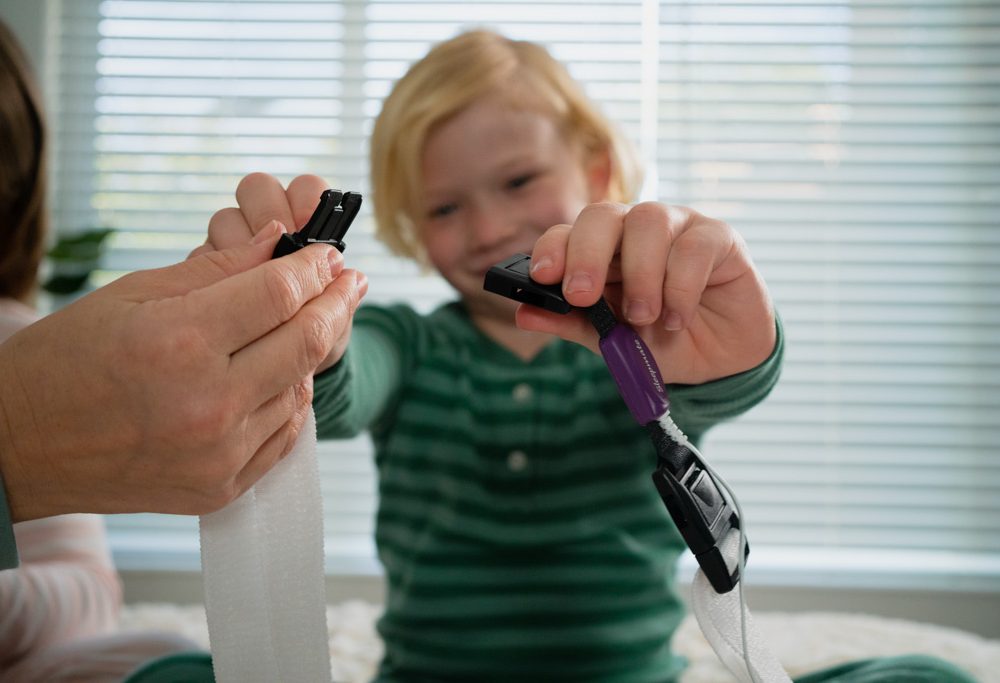
Respiratory Effort Belt
To fasten and unfasten the belt, use the clip buckles located at each end of the sensor. Adjust the length of the belt by pulling on the ends of the strap. Aim for a snug, but comfortable fit.
Once adjusted for size, place the belt around your child's upper chest and fasten the two ends in front.
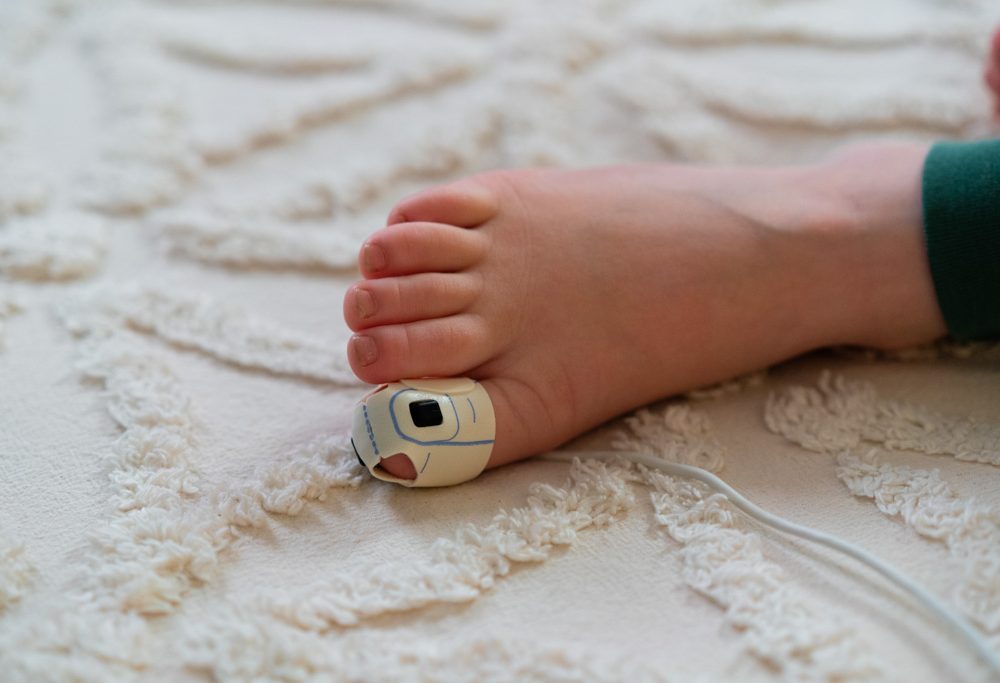
Pulse Oximeter
The pulse oximeter should arrive with an adhesive strip attached. Remove the backing and place the sensor on your child's big toe, with the red light facing into the nail. Secure the sensor in place by wrapping the adhesive strip around the toe. If possible, alternate between the left and right big toes for each night of testing.
Patients over 10 years old may wear the oximetry sensor on their finger if it fits well.